Before and After


Before –
The guest room was one of the first rooms I completed in my home. I wanted to decorate it with a more feminine touch since most of my guests are my girlfriends! Here’s how I went about the guest room renovation –
Prep-Work
The prep work always takes the longest. Make sure you invest a good amount of time in prep to ensure you get the best possible outcome!
Here is the prep I completed in this room in order:
- Scrubbed walls with TSP (chemical) to remove soot (make sure to use heavy duty gloves)
- Removed window fixtures and window locks
- Removed closet doors and entry door
- Removed heating vent covers and all electrical switch covers
- Washed down wood work first and then sand with light sand paper. Use tack cloth or damp rag to take all the dust off once sanding is complete. Roughing up the wood work makes your paint stick better.
- Filled holes in the wall and windows with Spackle. Sand down once it dries to have a smooth surface.


Progress-
Now that the room was back to basics it was time to start the priming and painting.
- Begin with ceiling.
- 1 coat of primer and 2 coats of white ceiling paint. Always start with your ceiling since it’s easier to edge the walls once the ceiling has been painted. The size of your roller will depend on how much texture you have on your ceiling. If you have a really textured ceiling then you want to use a thicker nap roller. If you have a smooth ceiling/wall then use a less thick roller. All rollers indicate the size and what type of surface it is used for. Roller 3/8″ nap and extendable painting wand is what I used.
- Home Depot Purchases-
- 5′ steel single painter’s pole: $7
- 9″ roller frame: $5
- Canvas drop cloth. Plastic is not a good idea on the floor because you’ll slip around.
2. After the ceiling is complete, prime and paint the wood work. Wait 24 hours between coats and then another 24 hours before you tape the wood work and begin painting the walls.
3. Prime and paint the walls. I used Kilz primer which is a stain preventer so nothing bleeds through. I did 2 coats of primer and 2 coats of paint. The paint color I used throughout the first floor and in this bedroom is Repose Grey (Sherwin Williams).


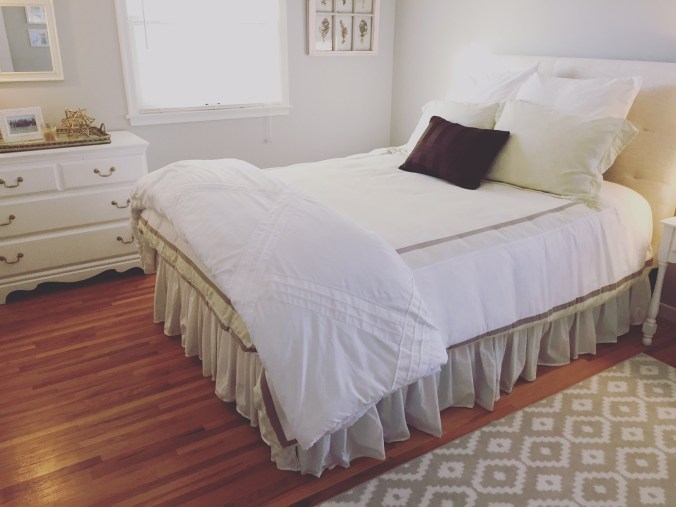
After –
The guest room came out pretty cozy!
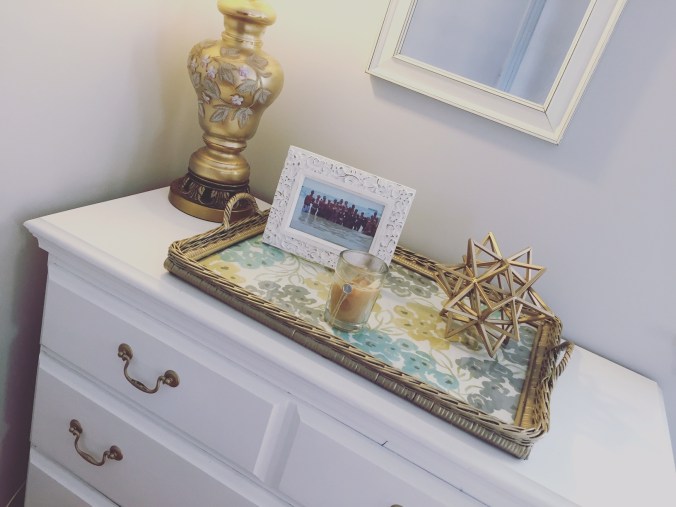
Most the decorations in this room were from Target and Hobby Lobby with the exception of the dresser and night stand which were hand me downs from my parents that I painted.
My favorite purchase was the head board that I recently got on clearance at Target for $150. It’s a cream color and matches perfectly in the room!