Before & After – Family Room


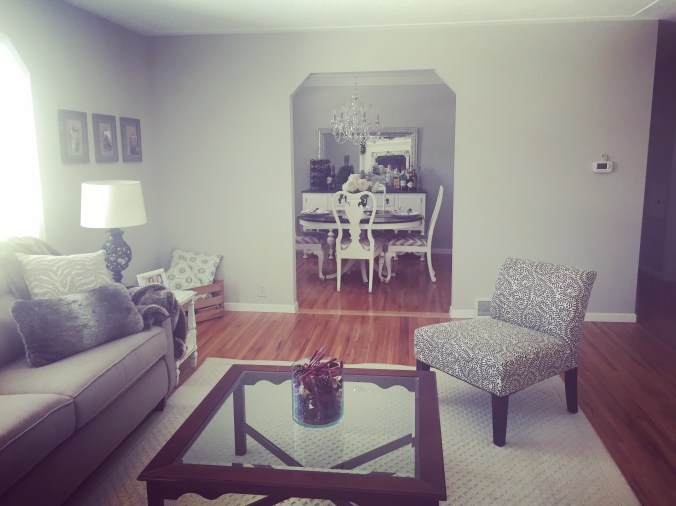
Before –
The family room was a pretty quick project compared to some of the other areas of the house. Just some minor cosmetic updates needed!


Progress –
I’m fortunate to have some AWESOME friends and family that came to help during demolition day. One of the tasks we took on during demo was scraping the popcorn ceiling. We used tools that you could use to spackle as our scrapers. You’ll want to test a small patch of your ceiling when you are scraping the popcorn down to be sure you don’t do more damage than you need. Since the ceiling was painted, I chose not to use any spray or water to help with the scraping…just a little elbow grease needed here!


Next up was removing the wallpaper! I used a Hudson Sprayer ($29) found at Home Depot to remove my wallpaper. Definitely worth the investment! The perks with a Hudson is it doesn’t involve electrical plug in’s and it’s really easy to use. I mixed water  with DIF (Wall paper stripper concentrate $35) to help with the ease of removal. Follow directions on the back of the bottle of how much to use relative to the water intake. Mix and spray on the wall and let it sit for 10 minutes then peel away the wallpaper slowly. Keep wetting the wallpaper and letting it soak if it’s not coming off easily. My thought – you can’t spray too much or let it soak enough!
Once the wall paper was down, I started the patch work to make the walls smooth in preparation for the painting! I purchased Dry Dex Spackling at Jerry’s Hardware ($6). There was a lot of patch work involved in this accent wall so I should have purchased a gallon of the premixed patch and level. Lesson learned!

Patch Work needed on the Accent Wall

Shout out to my cousin Zach for all his help!!
Once the wall paper is down, the walls are washed and patched and all the accessories (light switches, etc) are taken down then you can start painting the ceiling. I used primer (2 coats) and then painted the ceiling with the brand – Ceiling White ($30) found at Hirshfields in Edina.

I then moved onto sand and paint the wood work (windows, mantle and base boards). I used Benjamin Moore- White Dove for all the wood work and doors throughout the house.
Next up my favorite – Painting the walls! I used Sherwin Williams- Repose Gray throughout the main floor. Two coats and I called it a day.

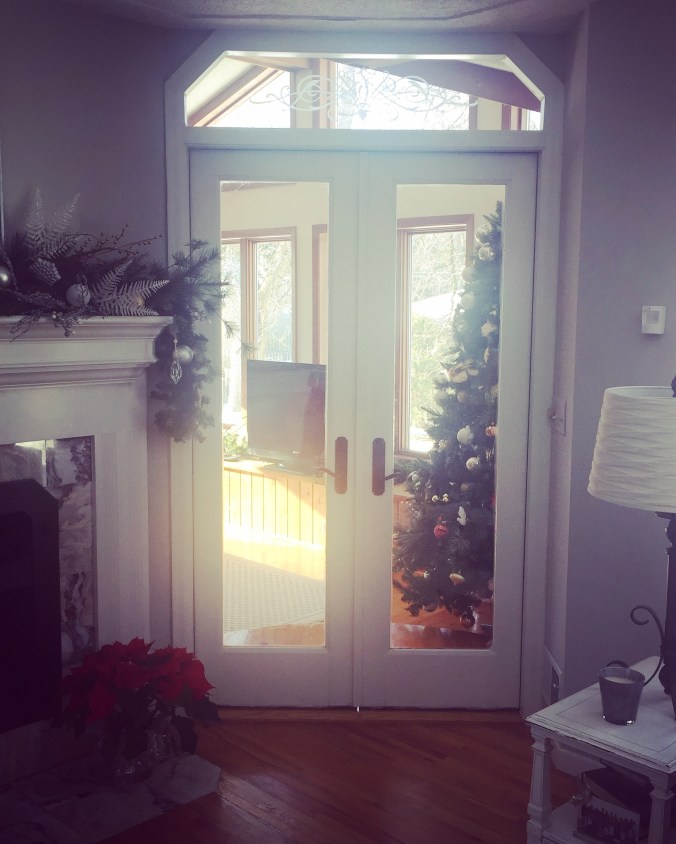
After –
I love how this room turned out! Such a transformation with minimal updates and $ needed!